Cookie decorating is a delightful and creative art form that allows you to transform plain cookies into edible works of art. Whether you’re a beginner or an experienced baker, mastering the art of cookie decorating opens up a world of endless possibilities. In this article, we will explore essential tips and techniques that will help you elevate your cookie decorating skills and create stunning edible masterpieces.
Introduction
Cookie decorating is the process of embellishing cookies with colorful icing, intricate designs, and various decorations. It has gained significant popularity in recent years, not only for special occasions like birthdays and weddings but also as a fun and creative activity for individuals and families.
The art of cookie decorating allows you to express your creativity and showcase your personal style. From simple designs to elaborate creations, cookie decorating offers a wide range of options to suit any theme or event. Whether you want to create adorable animal cookies for a children’s party or elegant designs for a sophisticated event, mastering the techniques will help you achieve impressive results.

Getting Started with Cookie Decorating
Before diving into cookie decorating, it’s essential to gather the necessary tools and equipment. Here are some basic items you’ll need to get started:
- Cookie cutters: Choose a variety of shapes and sizes to suit your designs.
- Piping bags: These are used to hold and dispense the icing.
- Decorating tips: Different tips create various effects, such as outlining, flooding, and detailing.
- Icing colors: Gel-based colors work best for achieving vibrant and consistent shades.
- Edible decorations: Sprinkles, sanding sugar, and edible glitter can add sparkle and texture to your cookies.
- Toothpicks: Handy for correcting mistakes or adding small details.
Additionally, selecting the right cookie dough is crucial for successful decorating. Opt for a recipe that holds its shape well during baking and has a mild flavor that complements the icing.

Preparing Your Workspace
Before you begin decorating, it’s important to prepare your workspace adequately. A clean and organized kitchen will make the process more enjoyable and efficient. Here are some tips to create an ideal cookie decorating area:
- Clean your countertops and sink: Ensure all surfaces are free from any lingering food debris or grease.
- Gather your supplies: Have all your tools and ingredients readily accessible to avoid unnecessary disruptions during the decorating process.
- Create a comfortable work area: Use a clean, spacious table or countertop where you can comfortably spread out your tools and cookies. Ensure you have enough room to work without feeling cramped or restricted.
- Organize your supplies: Arrange your tools and decorating supplies in a logical and accessible manner. Use containers or dividers to keep everything neat and within reach.
- By preparing your workspace beforehand, you’ll be able to focus on the creative aspects of cookie decorating without any unnecessary distractions or frustrations.
Basic Cookie Decorating Techniques
Now that you have your tools and workspace ready, let’s explore some basic cookie decorating techniques to get you started:
Outlining and Flooding
Outlining and flooding is a fundamental technique that creates a defined border (outline) and fills in the center (flooding) with icing. Start by outlining the shape of your cookie with a thicker consistency icing using a piping bag fitted with a small round tip. Once the outline has set, thin down the icing and fill the inside using a spoon or squeeze bottle. Use a toothpick or a small offset spatula to spread the icing evenly.
Marbling and Swirling
Marbling and swirling techniques add visual interest and dimension to your cookies. To achieve this effect, use two or more colors of icing and place small dots or lines of different colors on the flooded surface. Then, use a toothpick or a scribe tool to gently swirl the colors together, creating a marbled or swirled pattern.
Piping and Detailing
Piping and detailing involve using a piping bag fitted with various decorating tips to create intricate designs and fine details on your cookies. Experiment with different tips to achieve different effects, such as creating lines, dots, or intricate patterns. Practice steady hand movements and apply gentle pressure to control the flow of icing.
Tips for Achieving Professional-Looking Cookies
To take your cookie decorating skills to the next level and create professional-looking cookies, consider the following tips:
Consistency of Icing
Achieving the right consistency of icing is crucial for precise and smooth decorating. Royal icing, a popular choice for cookie decorating, can be adjusted to different consistencies depending on the desired effect. Thicker icing is ideal for outlining and creating dimension, while thinner icing is suitable for flooding and filling larger areas.
Color Mixing and Blending
Experiment with different color combinations to create unique shades for your cookies. Start with a small amount of gel-based coloring and gradually add more until you achieve the desired hue. To create gradients or ombre effects, use a clean paintbrush or a sponge to blend the colors together.
Using Stencils and Templates
Stencils and templates are handy tools for adding intricate designs and patterns to your cookies. Place the stencil on top of the cookie and secure it with a gentle touch. Then, use a sifter or an airbrush to apply icing sugar or edible color over the stencil, carefully lifting it afterward to reveal the design.
With these tips in mind, you’ll be well on your way to creating beautifully decorated cookies that impress both visually and in taste. Remember to practice, experiment, and let your creativity soar.
Advanced Decorating Techniques
Once you feel comfortable with the basic techniques, you can explore more advanced methods to take your cookie decorating skills to the next level. Here are a few techniques to consider:
Royal Icing Transfers
Royal icing transfers allow you to create intricate designs in advance and apply them to your cookies later. These can be flowers, letters, or any other shape you desire. Pipe the design onto a piece of parchment paper or acetate and allow it to dry completely before carefully peeling it off and placing it on a freshly flooded cookie.
Airbrushing and Painting
Airbrushing is a technique that uses an airbrush tool to apply a fine mist of edible color onto cookies, creating smooth gradients and adding depth to your designs. It allows for precise control and can be used to create stunning backgrounds or intricate details. Additionally, painting with edible food colors and brushes can add intricate designs, shading, and highlights to your decorated cookies.
Adding Texture and Dimension
Experimenting with texture can bring a whole new dimension to your cookie designs. You can use various tools like toothpicks, textured mats, or even natural elements like leaves or fabric to imprint patterns onto the icing. This adds visual interest and makes your cookies more tactile and appealing.
Troubleshooting Common Issues
Cookie decorating can sometimes come with its fair share of challenges. Here are some common issues you may encounter and tips on how to troubleshoot them:
Icing Consistency Problems
If your icing is too thick, add a few drops of water to thin it out. If it’s too thin and runny, add more powdered sugar to thicken it. Remember to make adjustments gradually and test the consistency by piping a small amount onto a parchment paper before applying it to your cookies.
Spreading or Bleeding Colors
To prevent colors from spreading or bleeding into each other, allow each color to fully dry before adding the next layer. If bleeding still occurs, you can use a technique called “wet-on-wet” by applying the second color while the first one is still wet to create a blended effect intentionally.
Cracked or Bumpy Icing
Cracked or bumpy icing can be caused by air bubbles trapped in the icing. To avoid this, gently tap the flooded cookies on a flat surface to release any air bubbles. You can also use a toothpick or a scribe tool to pop any visible bubbles before the icing dries.
Storing and Packaging Decorated Cookies
Proper storage and packaging are essential to preserve the freshness and beauty of your decorated cookies. Here are some tips to keep in mind:
Proper Storage Techniques
Store your decorated cookies in an airtight container at room temperature. Layer them with parchment paper or wax paper to prevent sticking. Cookies decorated with royal icing can last for about 1-2 weeks, while cookies decorated with buttercream should be consumed within a few days.
Creative Packaging Ideas
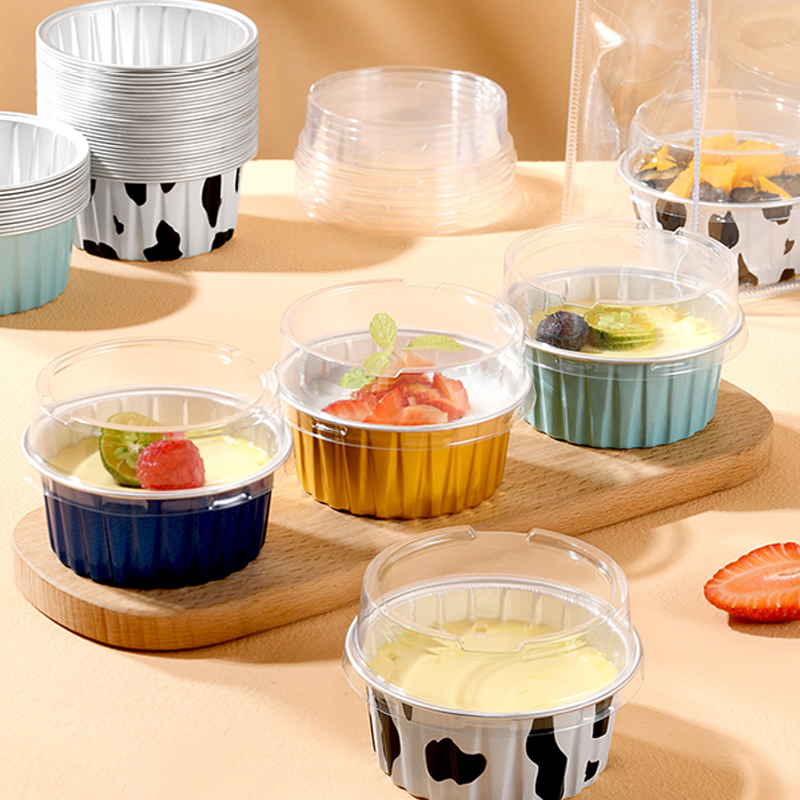
If you plan to give or sell your decorated cookies, consider packaging them in an attractive and professional manner. Use clear cellophane bags tied with ribbons, small gift boxes, or custom cookie boxes to showcase your creations and protect them during transportation.

Cookie Decorating as a Business
If you have a passion for cookie decorating, you may even consider turning it into a business. Here are some steps to get started:
- Obtain necessary licenses and permits: Research the requirements in your area and ensure you comply with any local health and safety regulations for operating a home-based baking business.
- Develop a menu and pricing structure: Determine the types of decorated cookies you will offer and establish pricing that covers your costs and provides a profit margin.
- Market and promote your business: Utilize social media platforms, create a website or online store, participate in local events or markets, and collaborate with influencers or local businesses to spread the word about your cookie decorating services.
Remember to continuously refine your skills, stay updated with current trends, and provide exceptional customer service to set your business apart.
